Growing up in the South, I remember my grandmother’s vanilla wafer cake. Its rich aroma filled the room. This dessert was special, a recipe passed down through generations.
A homemade vanilla wafer cake is more than a sweet treat. It’s a tradition that shows how bakers can make magic with simple ingredients. Unlike other cakes, it uses crushed vanilla wafers for a unique texture.
Looking for an easy vanilla wafer cake recipe? You’re in the right spot. This guide will help you make a cake that’s both nostalgic and innovative. It’s a crowd-pleaser that brings generations together with its comforting flavors.
Ready to see why this vanilla wafer cake is a beloved Southern dessert? It’s perfect for both beginners and experienced cooks. This recipe will quickly become a favorite in your kitchen.
Table of Contents
What Makes Vanilla Wafer Cake Special
A delicious vanilla wafer cake is a unique dessert that has won the hearts of home bakers for decades. It turns simple ingredients into a culinary masterpiece. It delights taste buds with its remarkable texture and rich flavor.
The Origin of This Beloved Dessert
The vanilla wafer dessert recipe started in the 1970s. Home cooks then began experimenting with new baking techniques. Southern kitchens especially loved this cake, making it a cherished family tradition.
- Originated in home kitchens during the 1970s
- Popularized in Southern United States
- Became a staple at family gatherings
Why Vanilla Wafers Instead of Flour
Vanilla wafers add a unique twist to traditional cake recipes. They replace flour, giving the cake a distinctive texture. The wafers also add a rich vanilla flavor and a dense structure.
- Provides extra vanilla flavor
- Creates a more complex texture
- Adds natural sweetness
The Perfect Balance of Textures
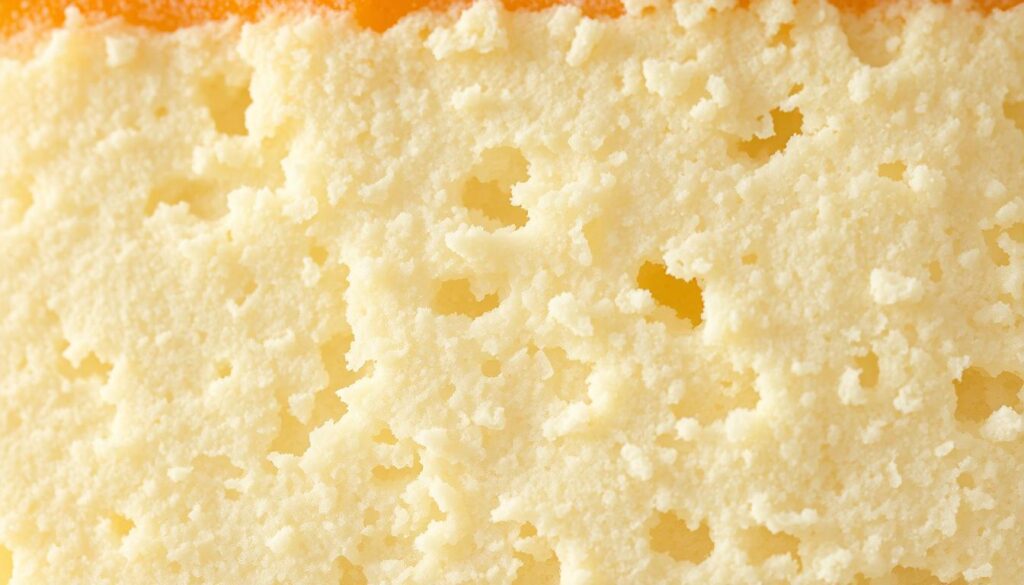
This vanilla wafer cake is special because of its amazing texture. The crushed wafers give a crunchy exterior, while the inside is moist and tender. Each bite is a delightful contrast that makes you want more.
A dessert that transforms simple ingredients into a culinary masterpiece!
Essential Ingredients for Your Vanilla Wafer Cake
Making a tasty homemade vanilla wafer cake starts with picking the right ingredients. Success comes from using quality parts that mix well to make a moist and tasty dessert.
For your vanilla wafer cake, you’ll need a list of pantry staples. These simple parts turn into a special treat. The base of this classic dessert has a few key parts:
- Vanilla Wafers: The main ingredient that gives the cake its unique texture and name
- Unsalted butter at room temperature
- Granulated sugar
- Large eggs
- Whole milk
- Pure vanilla extract
- Optional additions: shredded coconut and chopped pecans
When making your homemade vanilla wafer cake, temperature is key. Make sure butter and eggs are at room temperature for better mixing. The vanilla wafers should be high-quality and crushed for a perfect crumb base.
Using quality ingredients really makes a difference. Pick fresh, premium vanilla extract and high-quality vanilla wafers to make your cake stand out.
Pro tip: Crush your vanilla wafers just before mixing to keep their crisp texture and avoid moisture absorption.
Kitchen Tools and Equipment Needed
To make a tasty vanilla wafer cake, you need the right tools. Having everything ready before you start will make baking fun and easy.
Good baking starts with the right equipment. Your kitchen tools will help you follow the vanilla wafer cake instructions smoothly.
Must-Have Baking Items
- Electric mixer (stand or hand mixer)
- Measuring cups and spoons
- Large mixing bowls
- Rubber spatula
- Whisk
- Cooling rack
Recommended Bundt Pan Types
The right Bundt pan can change your cake’s look and feel. Look for these features:
- Non-stick coating for easy cake removal
- Heavy-gauge metal for even heat distribution
- Intricate design patterns for beautiful cake presentation
- 10-12 cup capacity for standard recipes
Additional Helpful Tools
Some extra tools can make your vanilla wafer cake better:
- Food processor for crushing wafers quickly
- Rolling pin (alternative wafer crushing method)
- Parchment paper for easy pan lining
- Kitchen scale for precise ingredient measurements
Quality baking tools can turn your vanilla wafer cake baking into a masterpiece. Your tools are the key to a delicious dessert.
Step-by-Step Vanilla Wafer Cake Recipe
Making an easy vanilla wafer cake needs precision and care. This recipe turns simple ingredients into a delightful dessert. It will impress your family and friends.
Before starting, gather all your ingredients for a smooth baking process. Your easy vanilla wafer cake will come together beautifully with the right preparation.
- Cream butter and sugar until light and fluffy
- Add eggs one at a time, mixing thoroughly
- Crush vanilla wafers into fine crumbs
- Alternate adding crushed wafers and milk to the batter
- Fold in vanilla extract
The secret to a perfect vanilla wafer cake is in the mixing. Gently fold ingredients to keep the cake’s delicate texture.
| Ingredient | Quantity | Purpose |
|---|---|---|
| Butter | 1 cup | Provides richness |
| Sugar | 2 cups | Adds sweetness |
| Vanilla Wafers | 2 cups crushed | Creates unique texture |
When baking your easy vanilla wafer cake, watch the oven carefully. Bake at 350°F for about 50-60 minutes. Or until a toothpick inserted comes out clean.
Pro tip: Let the cake cool completely before removing from the pan. This keeps its perfect shape.
Tips for Perfect Wafer Crushing Techniques
Making a perfect homemade vanilla wafer cake begins with crushing vanilla wafers right. The texture of your crushed wafers is key to a great dessert. Learning the best crushing techniques will help you get the right crumb for your cake.
To make your homemade vanilla wafer cake, you’ll need to find the best way to crush the wafers. You want a texture that adds depth and character to your cake. But, you don’t want to crush them too much.
Food Processor Method
The food processor is a quick and easy way to crush vanilla wafers. Here’s how to do it right:
- Place wafers in the food processor
- Pulse in short, controlled bursts
- Check consistency after every few pulses
- Stop when you reach a coarse, sandy texture
Rolling Pin Technique
If you like doing things by hand, the rolling pin method is great:
- Place wafers in a resealable plastic bag
- Seal the bag, removing excess air
- Gently crush with a rolling pin
- Use light, even pressure
- Stop when you reach your desired crumb size
Achieving the Ideal Crumb Size
The secret to a perfect homemade vanilla wafer cake is the crumb size. You want a texture that’s not too fine or too chunky. It should be like coarse sand – small enough to blend well but with enough texture for interesting mouthfeel.
Pro tip: Don’t over-crush your wafers. A bit of variation in crumb size can make your cake more interesting and delightful.
The Secret to Moist and Dense Texture

Making a moist vanilla wafer cake is all about baking magic. It’s about knowing how each ingredient adds to the cake’s texture. Your recipe needs the right mix of ingredients for a rich, dense dessert.
The secret is in the ingredients:
- Crushed vanilla wafers give a special base
- Butter makes it rich and keeps it moist
- Eggs help bind and make it dense
- Milk makes it soft and tender
Mixing techniques are key for the right texture. Gentle folding prevents over-mixing, which makes the cake tough. You want a balance that keeps it moist but not heavy.
“The difference between a good cake and a great cake is in the details of preparation.” – Professional Baker’s Wisdom
When baking your cake, watch the time and temperature. A lower oven temperature keeps it moist. Adding shredded coconut can also make it richer and prevent dryness.
Pro tip: Cool your cake completely before slicing. This keeps each slice tender and inviting.
Coconut and Pecan Enhancement Options
Adding coconut and pecans to your vanilla wafer dessert recipe makes it special. These ingredients turn a simple cake into a gourmet treat. They add depth, texture, and rich flavor.
Choosing the right coconut and nuts is key to a great taste. Not all coconuts and nuts are the same.
Selecting Coconut Varieties
For the best vanilla wafer cake, try these coconut options:
- Frozen coconut: Provides authentic texture and less sweetness
- Unsweetened shredded coconut: Offers pure coconut flavor
- Sweetened coconut flakes: Adds extra sweetness to your dessert
Preparing Pecans Perfectly
To get the best pecans for your vanilla wafer cake, follow these steps:
- Choose fresh, high-quality pecans
- Finely chop using a sharp knife
- Toast pecans briefly to enhance flavor
- Cool completely before adding to batter
| Ingredient | Recommended Quantity | Preparation Tip |
|---|---|---|
| Frozen Coconut | 1 cup | Thaw and drain excess moisture |
| Pecans | 3/4 cup | Finely chop for even distribution |
Pro tip: Always taste your ingredients before incorporating them to ensure premium quality in your vanilla wafer dessert recipe.
Storage and Freezing Guidelines

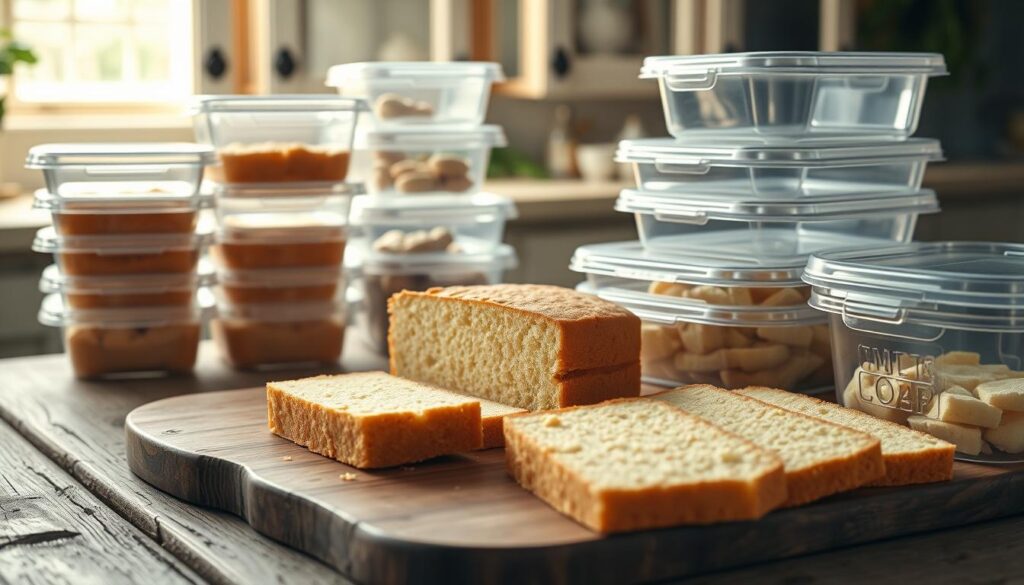
Keeping your homemade vanilla wafer cake fresh is key. It’s important to store it right to keep its amazing taste and texture.
For short-term, room temperature storage is best. Your cake can stay fresh on the counter for up to 4 days. Here are some tips for storing it:
- Use an airtight container to prevent moisture loss
- Cover the cake with plastic wrap or aluminum foil
- Store in a cool, dry place away from direct sunlight
Freezing is great for longer storage. Your cake can stay frozen for up to 3 months. Here’s how to freeze it:
- Allow the cake to cool completely before freezing
- Wrap the cake tightly in plastic wrap
- Add an additional layer of aluminum foil for extra protection
- Label the package with the date of freezing
Pro tip: When you’re ready to enjoy your frozen cake, thaw it in the refrigerator overnight. This gradual thawing helps maintain the cake’s moisture and prevents texture changes.
Proper storage keeps your homemade vanilla wafer cake fresh and tasty. This way, you can enjoy it whenever you want.
Serving Suggestions and Pairings
Your delicious vanilla wafer cake is perfect for many serving ideas. Each slice can be a chance to make your dessert special with creative touches and flavors.
For a classic look, try these ideas:
- Serve warm with a generous dollop of fresh whipped cream
- Garnish with fresh berries for a burst of color and flavor
- Dust lightly with powdered sugar for an elegant touch
- Add a scoop of vanilla bean ice cream on the side
Drinks can make your vanilla wafer cake even more special. Here are some great pairings:
- Rich, medium-roast coffee
- Earl Grey tea
- Sweet dessert wines like Moscato
- Creamy chai latte
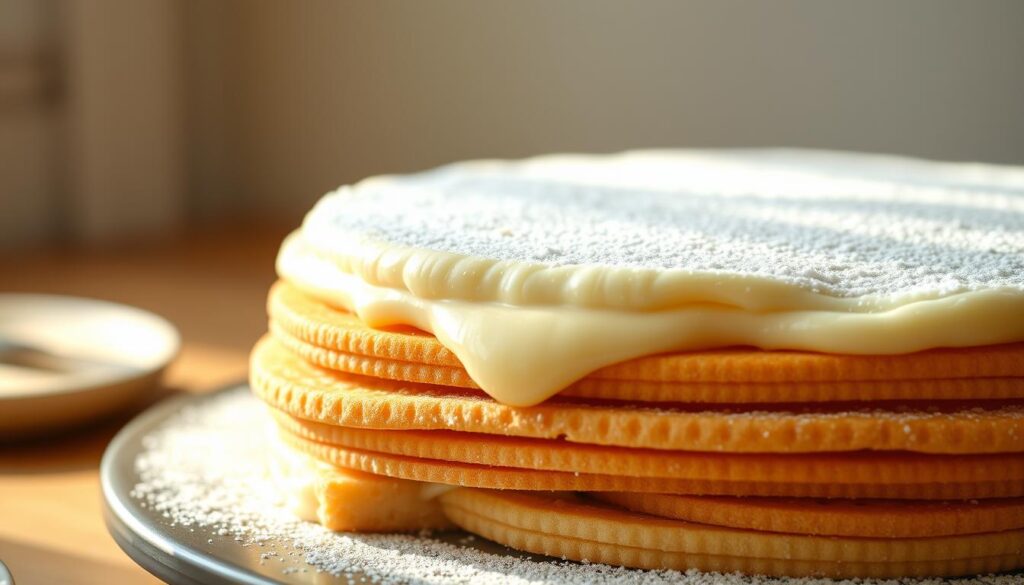
Looking for something different? Turn your cake into a fancy dessert. Make elegant trifles by layering cake with custard, or crumble it for a rich parfait base. These ideas will wow your guests and add a creative twist to your dessert.
The best thing about this dessert is how versatile it is. Your delicious vanilla wafer cake can be a simple treat or a canvas for your creativity.
Conclusion
Making an easy vanilla wafer cake can change your baking at home. This Southern classic is simple yet full of flavor. It’s a way to connect with baking traditions from the past.
This dessert is very flexible. It’s perfect for family events, potlucks, or just a weekend treat. You can make it your own by trying different nuts, coconut, or glazes.
Start baking and share your creations. Add your own twist to this classic. Every vanilla wafer cake you make is a chance to create lasting memories.
Your baking journey begins today. Get your vanilla wafers ready and preheat your oven. Let’s start this tasty adventure!

